About
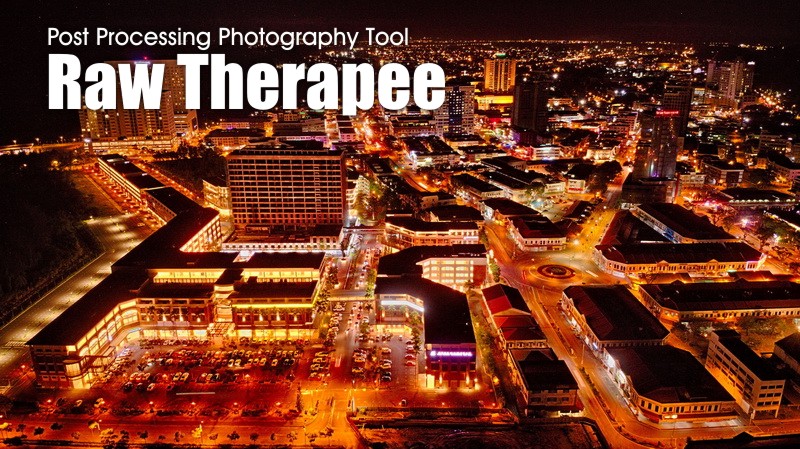
For those who are curious how i manage to produce candy eye and vibrant looking aerial photographs i took using DJI MINI 2 drone; i used 'Raw Therapee' program to enhanced the RAW photo (*.DNG files) then output to enhanced unique vivid colored photo on JPEG which you see a  lot on my DJI MINI 2 aerial photo gallery recently. This method is what photographer called 'post processing' work on RAW photo. To simplify the term; RAW photo uncompress images that you find after captured a scene. In your DJI drone you will mostly like find two photo format per-capture: *.DNG and *.JPG. The *.DNG extension file is an unprocessed photo with bigger uncompressed sized file which contain more information about the scene per-pixel which allow user to customized or enhanced the photo further. On the other hand JPG/JPEG format is already processed 'ready to use' image at default setting like you normally acquired from any standard camera. So if you wanted a good fantastic photos you'll need to 'enhanced' manually by tweaking the RAW photos like professional do. Usually photography professional would use expensive tools such as ADOBE LIGHTROOM to process Raw photos however not everyone could afford to pay for such software. Right now the best option would be free to use tools, currently in my list the best two are RAW THERAPEE and DARKTABLE. For now i mainly use 'Raw Therapee version 5.8' to post processing all my Raw photos which we will discuss below.
What is 'post processing'?
Post processing is a technique to enhance original photo. Ideal photo to enhance have bigger file size contain more data per-pixel, store more information about color and ambient so it can be customized to the photographer liking and personality. These file known as RAW DATA format because the file contain unprocessed and uncompressed data pixel of original files. RAW photo files would look very dark and flat in color hence looks ugly at first sight when normal people see it. There so many RAW file format which includes; IIQ (Phase One), 3FR (Hasselblad), DCR, K25, KDC (Kodak), CRW CR2 CR3 (Canon), ERF (Epson), MEF (Mamiya), MOS (Leaf), NEF NRW (Nikon), ORF (Olympus), PEF (Pentax), RW2 (Panasonic), ARW, SRF, SR2 (Sony) and also *.DNG (Digital Negative Images by Adobe) which is the one we're going discuss now since its output by DJI drone camera for our hobby..
*This processing tool will work on any image format. However if the file is already in 'compressed' format for example JPG/JPEG then all essential pixel data needed for processing already lost and you might not get much enhanced quality as good as bigger uncompressed file size of RAW file.
Download
- RawTherapee (Post processing photography tool): https://www.rawtherapee.com/
I'm not a professional photographer and still learning to tinker around the RAW files through post processing tools after i got my DJI MINI 2 drone. Its a steep learning curve for beginners, took me weeks to understand how it works and make the photo suits to my liking. In this article i will give you a shortcut by giving away sample of my raw processing 'Preset' files to make it easier for you to enhance your RAW photo from base line using free 'Raw Therapee' tools and start learning from there.
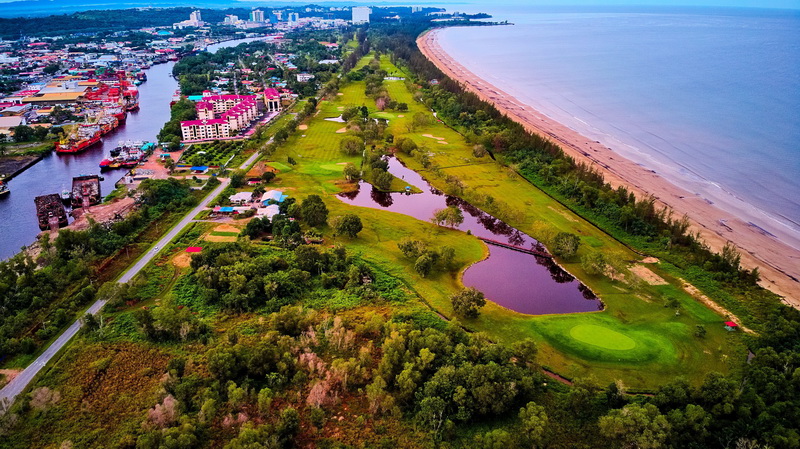
Below are two sample of my personal post processing Preset profile style that i recently used to enhanced my *.DNG raw photo which you can download, both are my favorite base line preset setting for day and night:
- 1. Download link: My Daylight Preset (*.pp3)
- For processing *.DNG file format.
- Suitable for raw photo taken after sunrise and before sunset under shady clouds.
- DJI photo mode: AUTO | J-RAW | EV: -1.7~0.0
- Time capture from 7.00am - 10.00am and 4.00pm -6.00pm.
- Need manual tweaking for bright sunlight especially noon 12.00pm time where the sunlight is from above.
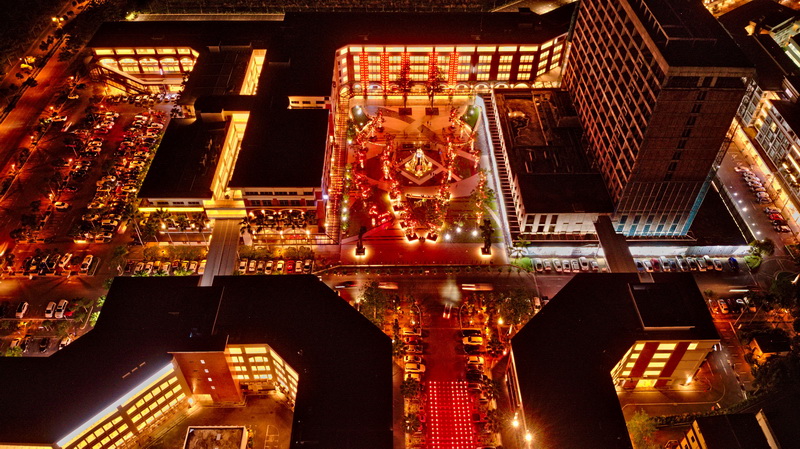
- 2. Download link: My After Dark Preset (*.pp3)
- For processing *.DNG file format.
- Suitable during night time with additional lights from the ground eg: city and street lights.
- DJI photo mode: PRO | J-RAW | ISO 100 | 5000K | Shutter: 1" or slower speed|
- Time capture from 8.00pm to 12.00am full darkness/midnight.
- *Note: Background can be a bit grainy due to DJI MINI 2 camera sensitivity limitation taking photo in low light but you can tweak further to dampen those grainy pixel. However not an issue for higher end drone with good camera.
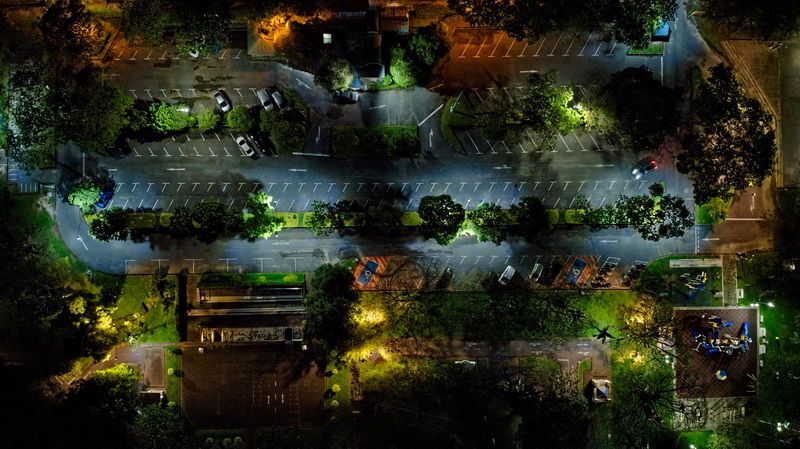
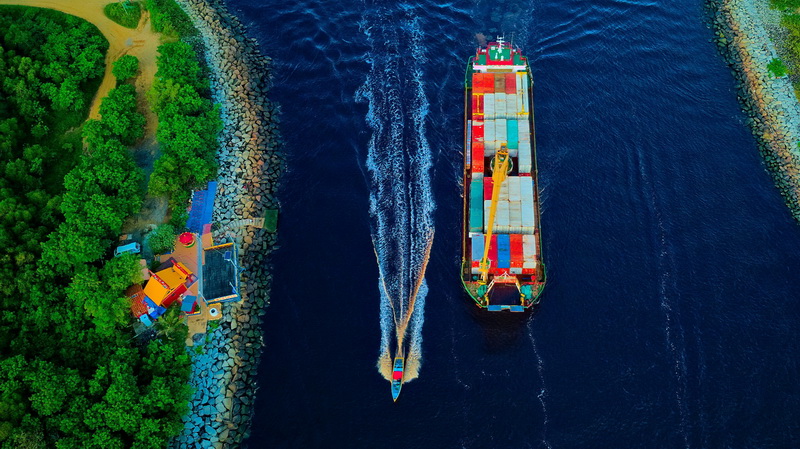
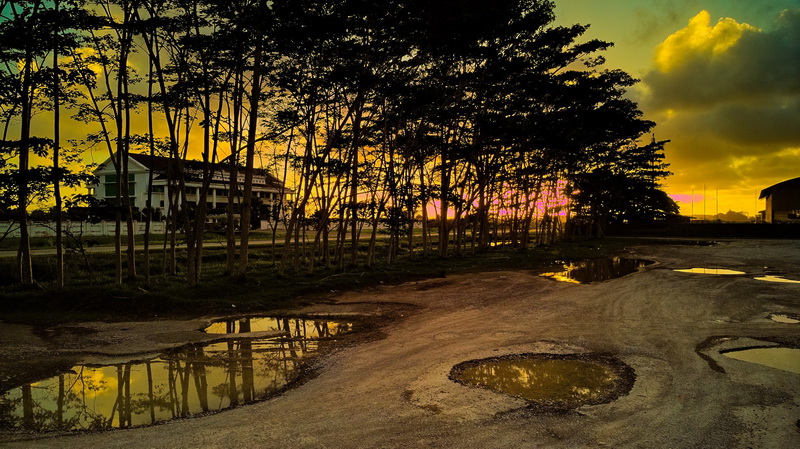
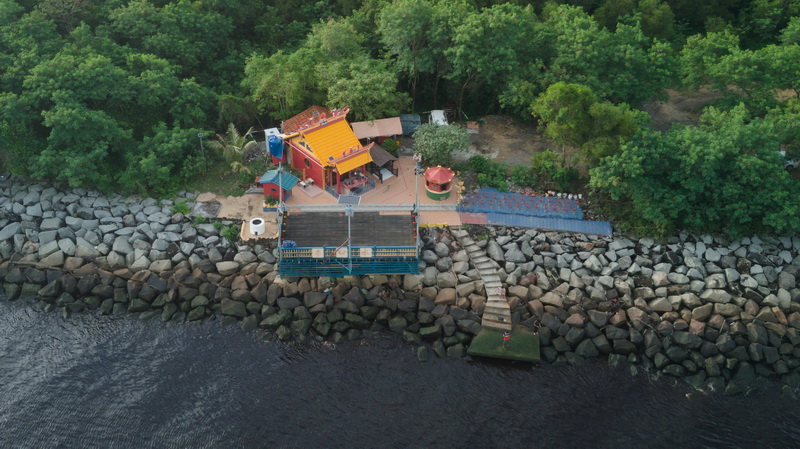
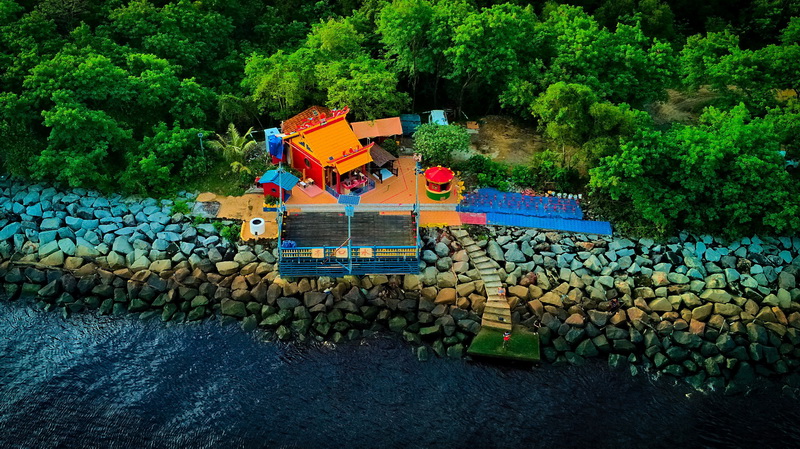
Below are sample of RAW photo before and after processing to JPEG
- Before process:
- After process - using Daylight Preset:
Gallery
You can view more of my processed photo using this tool at my gallery here: DJI MINI 2 - 249g mini multirotor
How do i used the Preset file.
- First you need to download and install the 'Raw Therapee' program.
- Create 'Preset' folder anywhere on your desktop and dump all the downloaded zip file contain 'Preset' (*.pp3) files. Unzip it and put the *.pp3 files inside that folder.
- Create 'RAW' folder anywhere your desktop and then put all your DJI's *.DNG or other RAW file format you wanted to work with inside that folder.
- Open 'Raw Therapee' Program.
- On the left pane window (A) with branched folder trees navigate and search location of your 'RAW' folder and double click it.
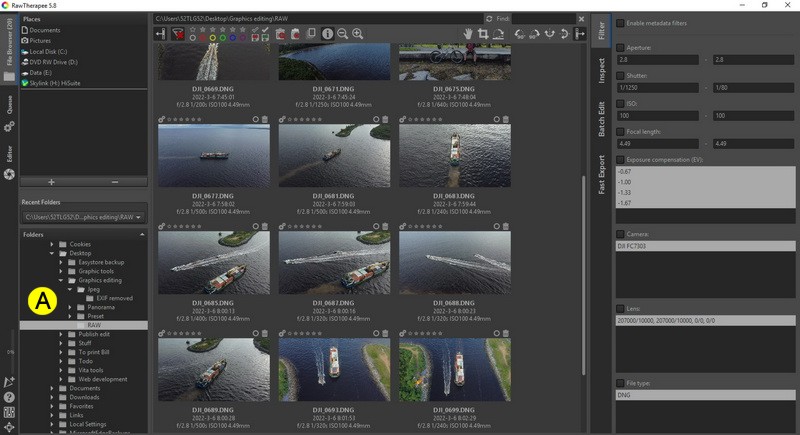
- After you double clicked it a gallery of your RAW *.DNG files in thumbnail arrangement will be shown.
- Double click the *.DNG file you like to edit and it will show you a big workspace screen of your photo.
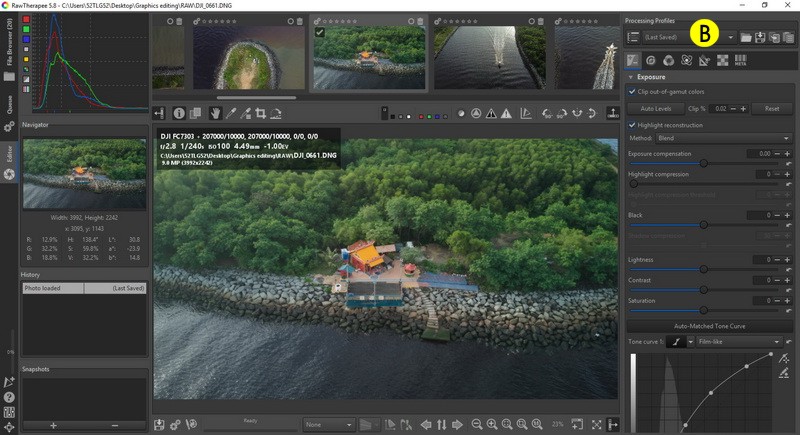
- On top left corner of the screen under "Processing Profiles" (B) tab click the 'Folder' icon. It will pop-up a file browser window, go find the 'Preset' folder you have created and click any of the preset file (*.pp3) you have dumped in. The click the "Open" button.
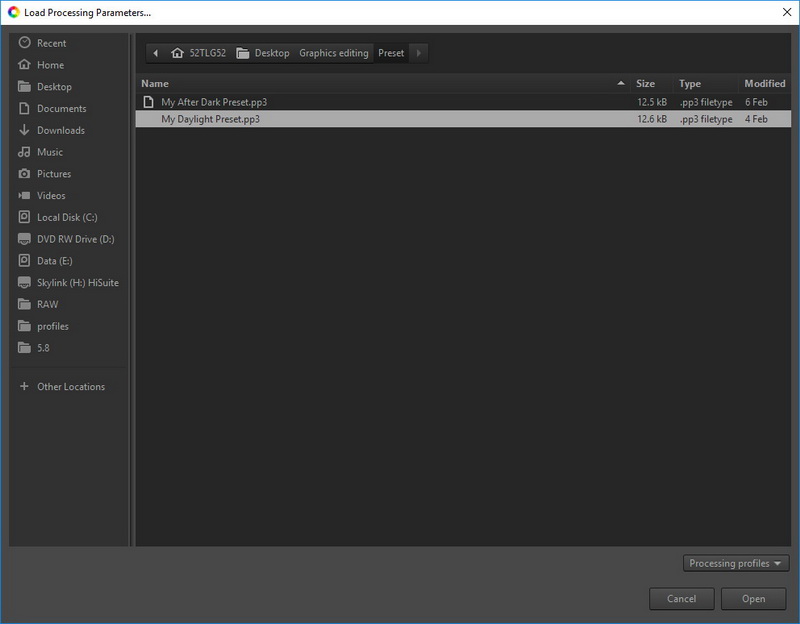
- Then wait for a few second your *.DNG photo to be processed automatically with new preset profile. Now you photo have new looks according to the preset applied.
- For a simple adjustment you try adjust some basic setting on your right pane under "Exposure tab" (C) through (+/-) Icon to tweak some sliders; 'Black', 'Lightness', 'Contrast' and "Saturation' for your first step tuning your photos. Most importantly you need to to go to 'White Balance' tab to adjust 'Method' >> Camera, Auto, Daylight, Cloudy, Shade and etc to get the overall ambient color corrected corresponding to daylight condition where the photo was taken.
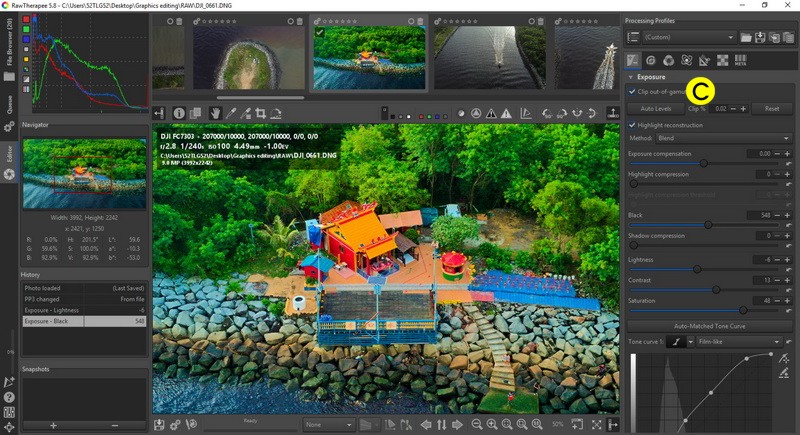
- For more advance tuning you can experiment more through several tuning tab nearby for more personal touch on your own photos.
- Once satisfied tuning your photo you can save your edited RAW photo to JPG/JPEG format, just click the 'Diskette' icon on the bottom left corner of your photo to save your file. A pop-up window will appear ready to save your photo at any folder space you desire. Click 'OK' button to proceed saving.
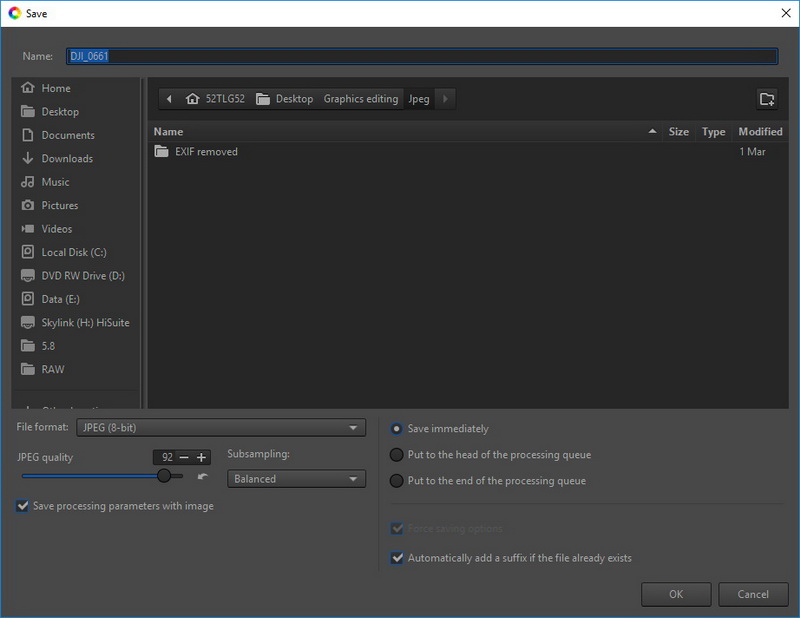
*Pro tips: If you like to save your own custom preset setting you can go to "Processing Profiles" >> Then click the 'Diskette' icon to save your profile in *.pp3 format so you can use back the same setting again without to much repeated work.
Btw i'm not going to teach you how to use 'Raw Therapee' tool further but you can learn somewhere by Google search the info or go visit their discussion board through links below the page. However as mention above i can only give you quick glimpse on how to enhanced and tune your photo on the fly after applied the 'Preset' i've given to you and work from there. So there you go, i hope you enjoy some 'post-processing' work on your photo and make all your aerial photography looks amazing and eye catching for your audience. Enjoy!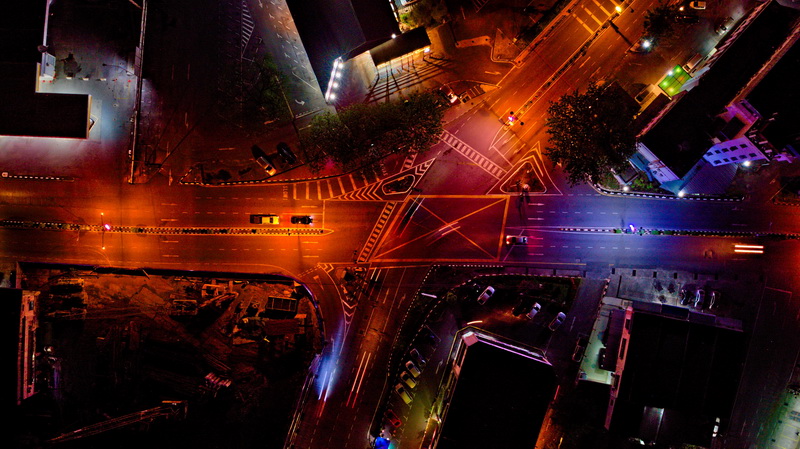
Downloads
Bellow are the free to download tools including alternative ones for photo post processing task from official website (external links):
- Raw Therapee (Post processing photography tool): https://www.rawtherapee.com/
- DarkTable (Post processing photography tool): https://www.darktable.org/ (Alternatives)
Support group/articles:
Places where you can find help and resources related to this software:
Support: https://rawpedia.rawtherapee.com/Forum
Pixls.us forum: https://discuss.pixls.us/c/software/rawtherapee/14
