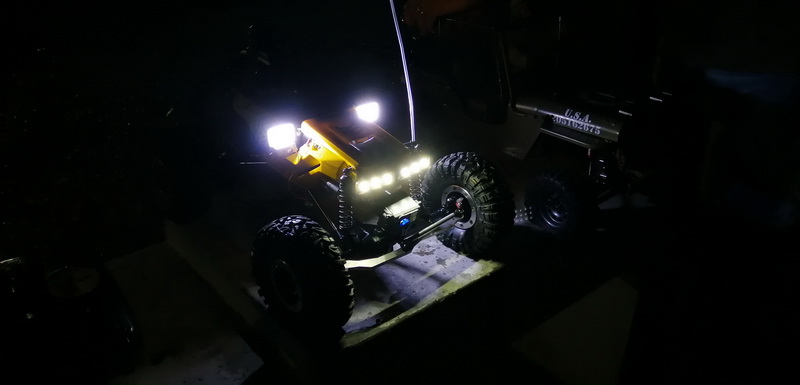
About: Crawler body kit for Axial MAXXIMUS XL2
This is custom build body kit for my home build AXIAL MAXXIMUS XL2. The MAXXIMUS XL2 is not an AXIAL official model but instead it was build from recycled parts bin that consist of random mixture of 80% Axial parts, AX-10 center frame, random other  brands R/C parts and custom welded roll cage as part of the main chassis. The word 'Maxximus' is tribute to my past 4x4 EVO truck designed few decades ago while the 'XL2' is second revision of the build. The model is build for serious FPV ground crawling as featured on my Youtube video channel and parts of the website documented resources. Its build to replace flimsy plastic panel of the MAXXIMUS with armored style panel for increase durability and protection on the internal components during rolling. The kit also include other accessories such an 12v SMD type LED lighting place holder on both side of the driver cockpit and also the front hood to provide large amount of frontal lighting at night for FPV driving and fully adjustable at any angle.
By popular demand from other R/C and FPV community enthusiast i've decided to release this kit on my website for free public download because of its radical armored style design. Original intention was to keep it for myself since this kit only works for my own custom build which unique of it own, but since lots of enthusiast are interested it now available to the public provided the end user knows how to make it works on their models.
Specification & requirements
The kit design to fit only on custom straight rail type Baja chassis with center frame made from AXIAL AX-10 'W' or 'V' frame pattern to mount the center drive gear to connect out to the axles. These are home build custom crawler that doesn't conform to any commercial design. So to make this fitting works you'll have to figure it out from provided picture shown in this gallery here. I'm sure you some smart builder who download and 3d print this *.STL files could make it works on their models. So won't give much support on how to or guide the installation. Use it at your own discretion and at your own risk.
Complete assembly parts:


How to install:
The attached *.STL file contain 10x parts to make up the full assembly as shown below list. 
- hood.stl
- panel_front_left.stl
- panel_front_right.stl
- panel_rear_left.stl
- panel_rear_right.stl
- roof.stl
- print_2x_foglight.stl (** this part need to print twice (2x))
- foglight_mounting.stl
- side_light_l.stl
- side_light_r.stl
This parts works on very close to AX-10 type chassis with added top DIY chassis railing. You'll have to improvise or be creative on the assembly to make it works on your models. Good Luck.
![]() Gallery |
Gallery | ![]() Download STL file for 3D printing
Download STL file for 3D printing

