
About
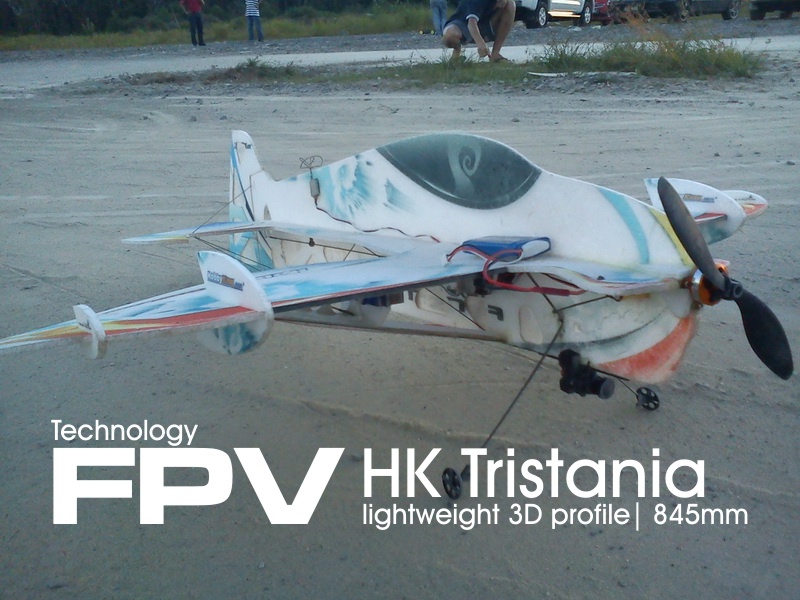
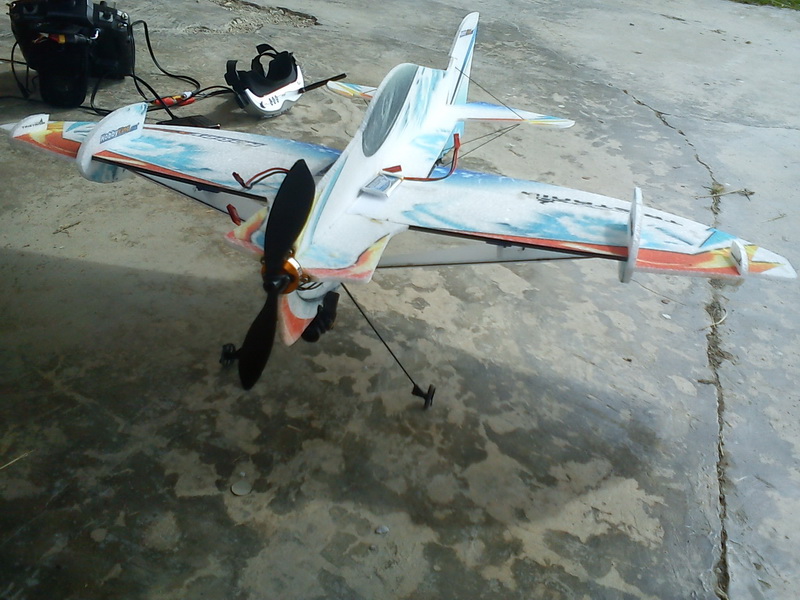
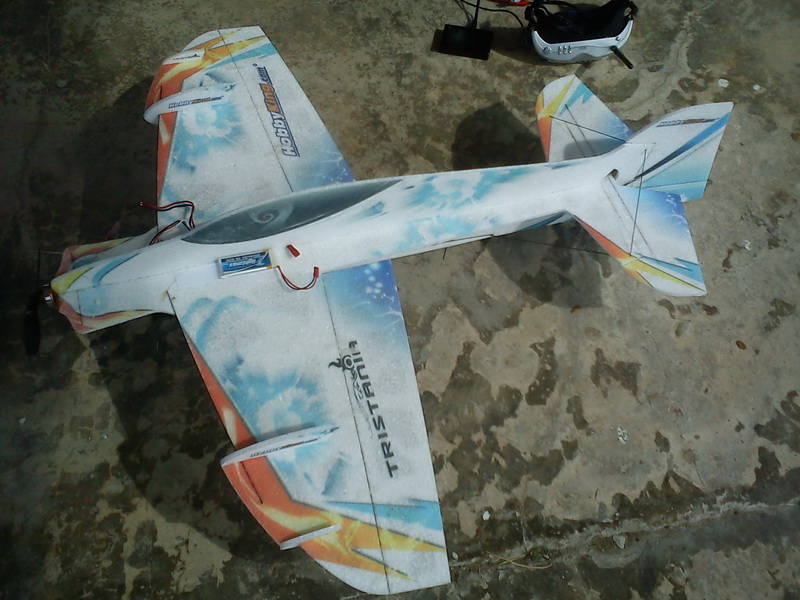 This is a 3D flying airframe, designed to fly indoor and on calm wind condition suited to perform aerobatic and 3 Dimensional maneuver (3D) where pilots have their thumbs handful executing challenging moves usch as loops, knife edges, prop hangs and etc. Their flat plank profile cardboard physical looks allows lightweight advantage to perform such task. Best flying weight is at 120 grams using minimal hardware and weight is critical for best hovering performance thus increase run-time on small lipo battery. Made from soft flex and spongy EPP foam that hardly break any windows glass our or not even a scratch wall paintings if hit by a profile 3D plane, almost similar spongy material that used to wipe clean your kitchen plane but in slices bits. They are so light it could hover stationary with steady head winds.
Model specification & setup
Airframe type: 3D profile plane
Branding/Manufacturer: TECHONE, Hobby King
Model name variant: SPIRIT, TRISTANIA
Material build: EPP foam
Winspan: 845mm
Length: 895mm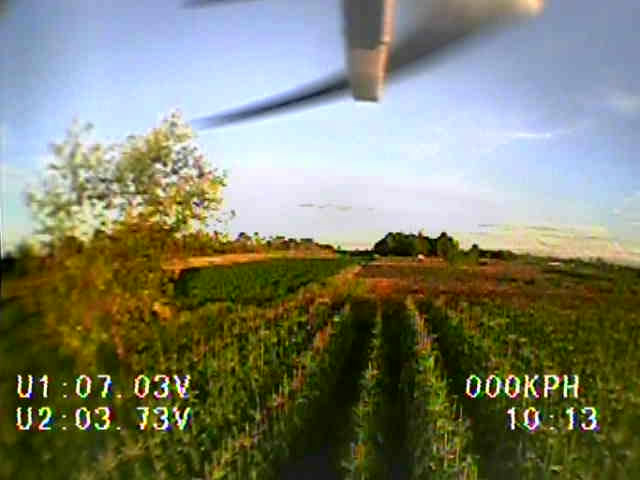 Stock airframe weight: 190gram
Full FPV flying weight: 244gram
Aileron: 2x 5g servo (reduce to 1x aileron servo in late 2013)
Elevator: 1x 5g servo
Rudder: 1x 5g servo
ESC: 12A
Motor: T2006 1900kv
External BEC: None
Propeller: GWS style 8x6 DD/SF
Radio receiver: HK 9x compatible 6ch
Radio receiver antenna: Stock Omni
Battery: 1x 650 3s 15c ~1000mah 2s 25c
Center Gravity: 1/3 from the front leading edge of the wing.
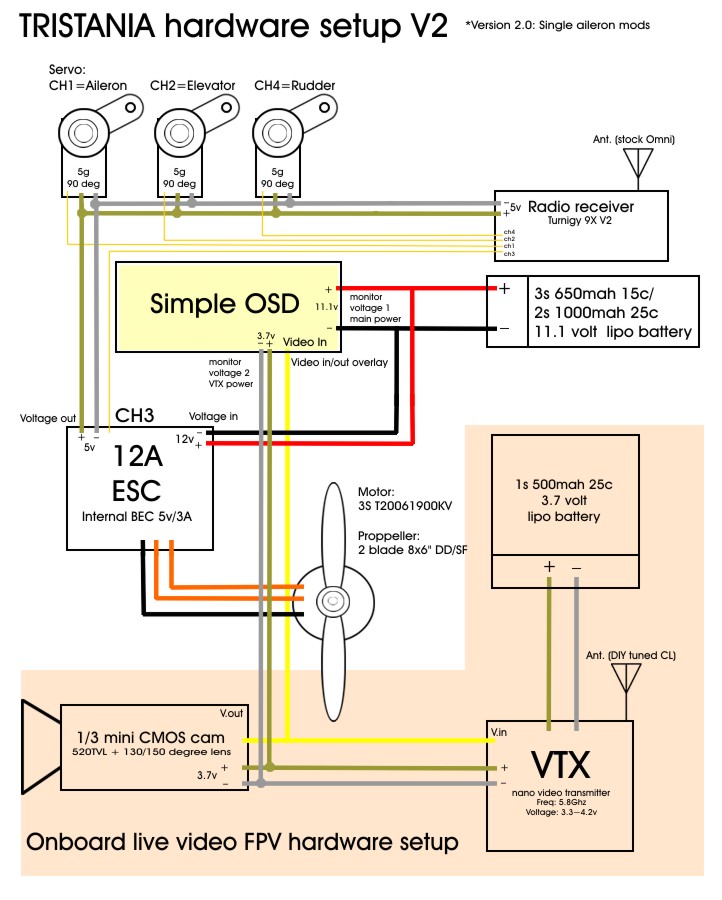
My DIY FPV specification
Camera: 520 TVL CMOS mini (3.3~5v) + 150 degree lens
Secondary camera: None
Camera pan/tilt mechanism: None
OSD: HK Simple OSD
Flight Control board: None
Video transmitter: Boscam nano 5.8ghz 200mw (1s)
Video antenna: DIY tuned Clover Leaf
Battery: 500mah 1S 25C
Building
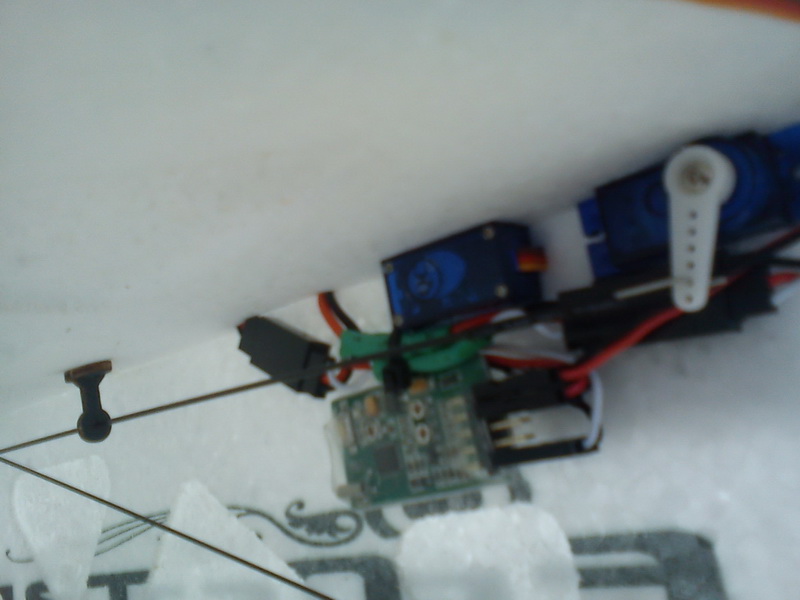 First of all assembling this plane is extremely PITA..i repeat really PITA is you don't like to do some gluing work..patient and skills will keep you going, you'll need to be careful about how much glue you put in because it a slight minor gram heavy will bog its flying performance because its a weight sensitive platform. Installing FPV however is a piece of cake because its all outside its body layer...on the plank. Ideal flying weight should be below 280gram.
FPV building level difficulty/rating: Easy (8/10)
FPV equipment setup grade: Basic
Building hours required: 4 hours
Skill required: Soldering/Foam cutting
Critical issues during installation: Keeping the weight to minimal
Required additional mods/must do improvement: Canopy cover magnet needed to be re-glue else will fly off during flight.
FPV flight characteristic and performance
 Slow, relaxing, maneuverable, agile, responsive and hover-ability are best way to describe its flying characteristic. Although it looks like easy to fly in-fact its not at all. Lot of throttle control to keep it hovering
 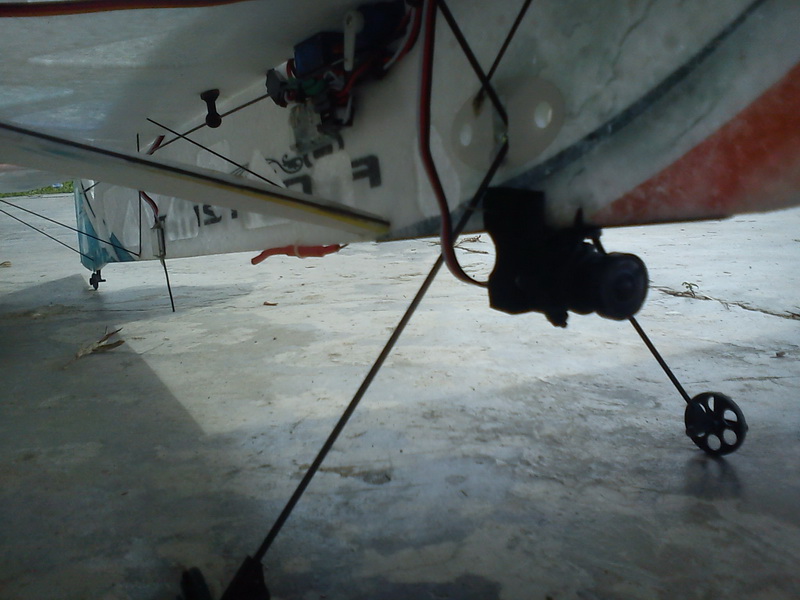 and rudder control is the key to successful flying. Throughout the flight i had to keep my hands really on alert on the sticks because of sensitive rolls and pitching. It also gets easily thrown around by the wind easily so bunch of rudder control can be really handful. HK TRISTANIA/TECHONE SPIRIT is the only 3D profile EPP platform which has a naturally "self bend" at wing tip because absent of spar support at the remaining 15% of the wing tips which is a good attribute. Thus sloppy and spar-less wing tips allow it to slip though any tight obstacles by sliding and "blending" though the tree branches, tree twigs and concrete walls as it flies against it without hard hitting and crashing. If you've seen how the fish swim in the seas and move around and through the objects that's how this plane does...as sleek as a fish swimming in the sea.
Minimum level of flight experience required/flight-hours: Intermediate(75 hour)
Nature of platform handling experience/skill required: 3D aerobatics
Self leveling capability in thumbs-off stick situation: No
Take-off & landing difficulty: Easy
Hand launch: Yes
Max speed: 35~km/h
Min speed before stall: 0~2km/h
FPV flight/radius: 1km max (given above FPV spec/setup)
Max altitude: -
Bail-out/fail safe recovery altitude limit: 5~10m
FPV safe distance range for testing: 400~600m (Open field)
High angle of attack (AOA) tolerance limit before stall: Not applicable.
Ground "STOL" (Short Take Off and Landing) capability/thrust%: Takeoff 2m (50%)/ Landing 2m (20%)
Altitude climbing power/thrust%/AOA angle: 1 sec/per-meter at 80% thrust/80 degree
360 degree turning radius clearance/holding pattern: 2m
360 barrel roll/loop acro flight: Yes (3D)
Control expo - aileron: 65% (low to high)
Control expo - elevator: 45% (low to high)
Control expo - rudder: 45% (low to high)
Control end point - aileron: 80% (low to high)
Control end point - elevator: 100% (low to high)
Control end point - rudder: 100% (low to high)
Flight time: 15~20 min
Ground spotter visibility (LOS): 350~500m
Safety issue
 Its a flying tissue paper that's all i can say. Made from slices of sponges that you use to wipe those plates in your kitchen and hardly able to break any twigs or branches on the trees or causes any dents on your ice cream cones. The only advice i can give is not to fly to high and too far beyond the airframe capability because it has a high wind friction surface than tends to be "air draggy" which slows down the speed at "flaps" like flights, causes it to be blown to far away by the wind and may not able to retrieve back because due to power struggling on the thrust ratio per-battery consumption thingy. Stock park size profile airframe comes with air-brake/air-spoiler that are used to slow down the plane to allow pilot to do 3D maneuver almost stationary manner. Air-brake/air-spoiler must be remove for FPV safety reason if to be flown outdoor especially heavy winds.
Pros and Cons
Here are list of pros and cons about this platform. Some of this are needed to take seriously if you are going deep into long term FPV ambition
Pros:
- Extremely light airframe, its a flying tissue paper/slice of sponges.
- High crash survivability and recyclable.
- Doesn't cause much damage to public property.
- Excellent platform to zig-zag around trees, slalom around obstacles and survive any impact.
- Excellent STOL landing at almost hover-able.
- Uses low cost on both flight control and FPV hardware assembly.
- Best platform to practice advance FPV maneuvering and enhance FPV professionalism.
Cons:
- Handful on the control, will need constant control countering with the winds, throttle control and nose pitching.
- AOA can be confusing on first flight
- Get pushed around by the wind more often on outdoor flight where originally the airframe was not intended for such condition.
- Try to keep the weight minimal at 250 gram can be a huge task during the assemble.
- Airframe assemble will take 70% more effort and time than installing the FPV hardware.
Current status & flight history
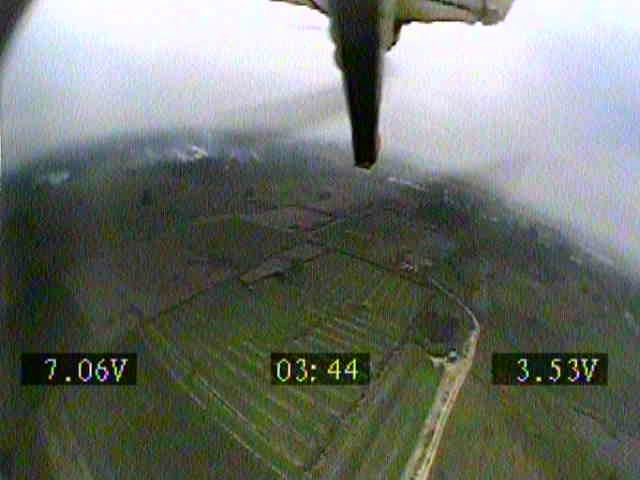 Flying the HK TRISTANIA at first can be tricky, best to be flown start-up when there's no wind. Even by having a basic FPV experience will sometimes causes your first flight to have a high AOA incident (nose pitch up mistake). High camera placement was my first mistake and later placed lower under the bellow for better flight viewing, handling and CG. First flight will be very twitchy on the aileron especially on normal afternoon windy condition between 15~25km/h sideways. 'Bank and Yank' flight is not recommended so rudder control is the best practice since it has 100% more authority compare to other flight envelop. My first flight i have to go at medium 50m altitude to get more space to get the feel of this platform, after few rounds i get very comfy i reduced the altitude slowly until i get used to the controls and the visual reference between my plane and the ground hovering estimates. 3 days later its a smooth sailing and more fun to fly than a multi-rotor. Honestly it is extremely a keeper because its agility and low risk flying outweighs the fun on multi-rotor. Tree slalom, hovering above the water, high altitude flying, zig zag through the obstacles, flying though corridors and chasing around your friends r/c models at close and ground proximity without risk of public property damages keeps me wants to go more where as multi-rotors even at smaller size can only perform half the task and risk huge.
Lifespan operation: 1.5 years
Maintenance priority check: Motor mounting + aileron servo wear and tear check.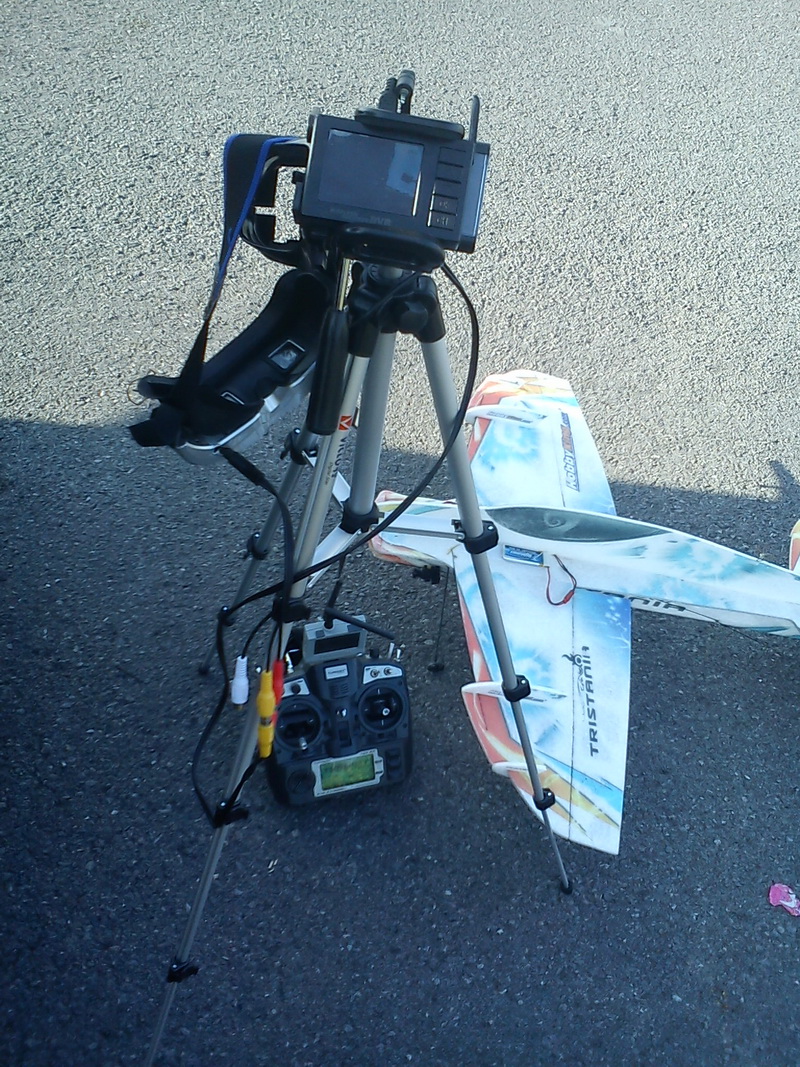
Constant critical issue: None
Maintenance cost per-lifespan: None
Flight hours accumulated per-lifespan: 432 hours (updated on 19 Mar 2014)
Best L.O.S distance record: 1km
Est. distance covered per-lifespan: 5,790km (Odo) (updated on 19 Mar 2014)
Best height record: -
Best flight time record per-session: 20min (1000mah 3s 25C) max
Best low hovering speed record: 10km/h
Best record for zero thrust landing distance/power failure glide recovery distance: None
Activity status: Active
Summary
If you're looking forward to sharpen your FPV skills into professional level then this platform will do the job. It does not look very appealing nor have any quality of real FPV performance but the benefits gain through flying this is so paramount that allows you to build a solid flying foundation and increase level of FPV flight handling especially close encounter with obstacles and ground proximity based maneuvering which is useful for future multi-rotor flight and fast aerobatic piloting. Added plus is the assembly cost is cheaper for starter FPV pilot with less risk getting into trouble with public damages and life injury. The cons are hefty and timely build which needs patient and more concentration on keeping the setup as light as possible.
Videos/Medias![]() Here are some of my video and gallery related to the above topics:
Here are some of my video and gallery related to the above topics:
- Gallery: HK TRISTANIA - Lightweight 3D Profile FPV
- My Youtube channel: 3DXL
- My Videos:
Shopping list
Here i've listed some raw material, hardware and stuff where you can start building your own FPV platform. The list contain the above hardware and also include some compatible ones which you can pickup what suits best for your need and your budget. So come dig around and start your tech flying ambition:
- Platform/Airframe:
- Radio set/combo:
- Flysky TH9x combo (Mode 1)
- Flysky TH9x combo (Mode 2)
- Turnigy 9X combo (Mode 1)
- Turnigy 9X combo (Mode 2)
- FrSKY TARANIS X9D ACCST 2.4ghz transmitter version B
- FrSky DHT 8CH DIY compatible telemetry transmitter module (Advance installation required)
- Frsky V8R7-II 2.4ghz 8ch receiver
- Frsky D4R-II 2.4ghz 8ch ACCST receiver
- Motor/ESC/BEC:
- Servo:
- Camera/HD/DVR:
- 520TVL CMOS nano (Excellent for micro/nano size FPV platform)
- 600TVL CMOS nano (Excellent for micro/nano size FPV platform)
- 700TVL CMOS 1280x960 resolution nano
- BOSCAM CM205 5.8ghz FPV wireless mini CMOS camera (Excellent for super nano indoor FPV models, tricky but good stuff)
- Keychain 808 #16 V1 HD camera
- Keychain 808 #16 V3 HD (With live output and HD recording, most popular among r/c and FPV use)
- 1/3 600TVL CMOS NTSC (Best on mini 200 size FPV platform with advantage of generic interchangeable lens)
- 1/3 600TVL CMOS PAL (Best on mini 200 size FPV platform with advantage of generic interchangeable lens)
- Y3000 720p HD mini (Super lightweight)
- Flight controller/AP System/OSD:
- Video transmitter/combo:
- BOSCAM 5.8ghz 8ch receiver
- BOSCAM RC305 8ch wireless Audio/Video receiver (Basic requirement for 5.8ghz)
- BOSCAM 5.8ghz nano receiver module (Excellent for DIY FPF goggle and mini monitor)
- BOSCAM AIO FPV video goggle GS920 with receiver 2.4ghz/5.8ghz (Excellent for serious FPV flyer)
- BOSCAM AIO FPV video goggle GS922 with diversified receiver and built-in DVR
- SKYZONE SKY-01 FPV video goggle with receiver 5.8ghz diversity antenna build-in (Excellent for serious FPV flyer)
- SKYZONE SKY-700D FPV 5.8ghz 32ch monitor + DVR (Excellent for starter and complete DVR combo)
- SKYZONE RC702 SKY-702 5.8ghz 7" AIO diversity receiver monitor
- FPV 7" TFT LCD monitor 800x480 screen with audio (Excellent for budget beginner DIY FPV build)
- Nano 5.8ghz 200mw (Excellent for outdoor mini/micro/nano FPV)
- DIY mini FPV 5.8ghz 200mw integrated 600TVL camera transmiter (For lazy people, easy setup and quick choice).
- Battery:
Building threads/Referral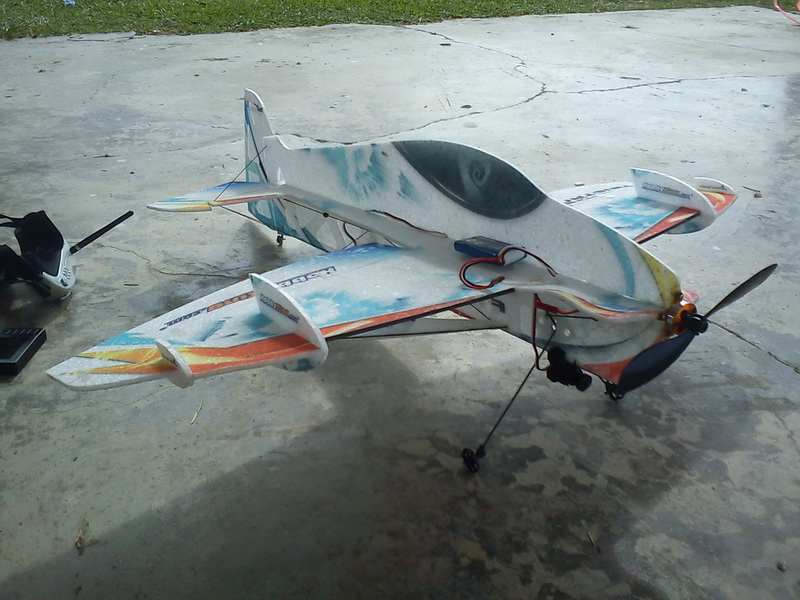
If you don't know where to begin with i recommend you to start reading some guides, wikis and building tips from popular on-line resources as listed below. You might find me hanging around some popular R/C and FPV forum below.
- Rcgroups FPV forum
- http://www.rcgroups.com
- http://www.fpvlab.com
- http://www.diydrones.com
- http://www.rcuniverse.com
- http://www.flitetest.com
- http://fpv-forum.com
- http://www.rcexplorer.se
- http://homepages.paradise.net.nz/bhabbott/Servo.html